How to Install MySQL and Import a Sample Database (PART 1 of 8)


For the subsequent SQL lesson series that we are going to cover, you may want to install MySQL to follow along with the instructor.
MySQL is open-source software; this means the software is free to most end-users. MySQL does offer a commercial license for more advanced database requirements. Learn how to install MySQL and import a sample database below.
Minimum hardware requirements
First, check to see if your computer is compatible to run MySQL.
To do this, review the Hardware Requirement web page that will direct you to the MySQL forum with information about compatibility.
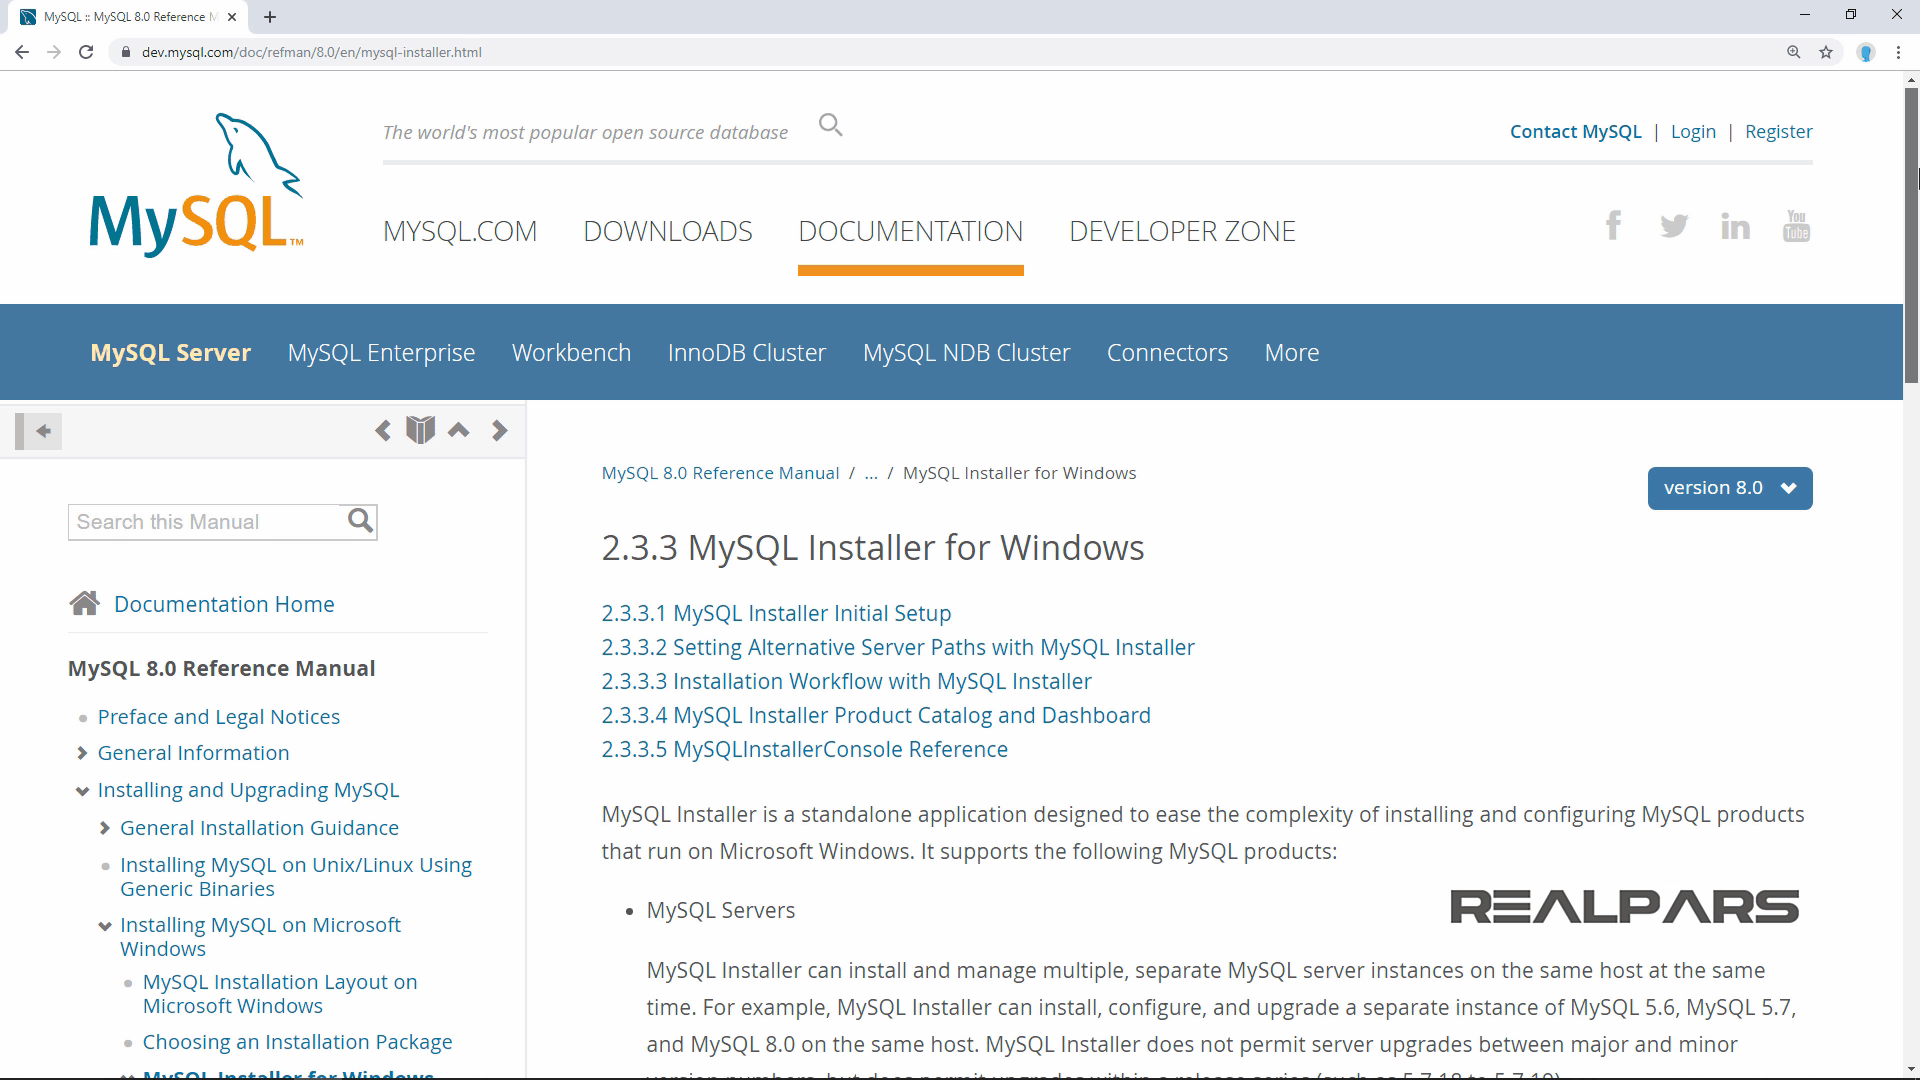
MySQL installer file
MySQL has a very easy to use installer to help the user download and install all the MySQL options.
There are two options, choosing the right file.
If you have an online connection while running the MySQL Installer, choose the mysql-installer-web-community file.

If you do NOT have an online connection while running the MySQL Installer, choose the mysql-installer-community file.
This is a larger file and contains most of the options required.

When the file downloads, it will be named: mysql-installer-community-8.0.16.0.msi.
How to Install MySQL
After the download, double click on the MySQL installer community file to begin the process.
When the msi file has completed installing the MySQL installer program, the following window will appear.
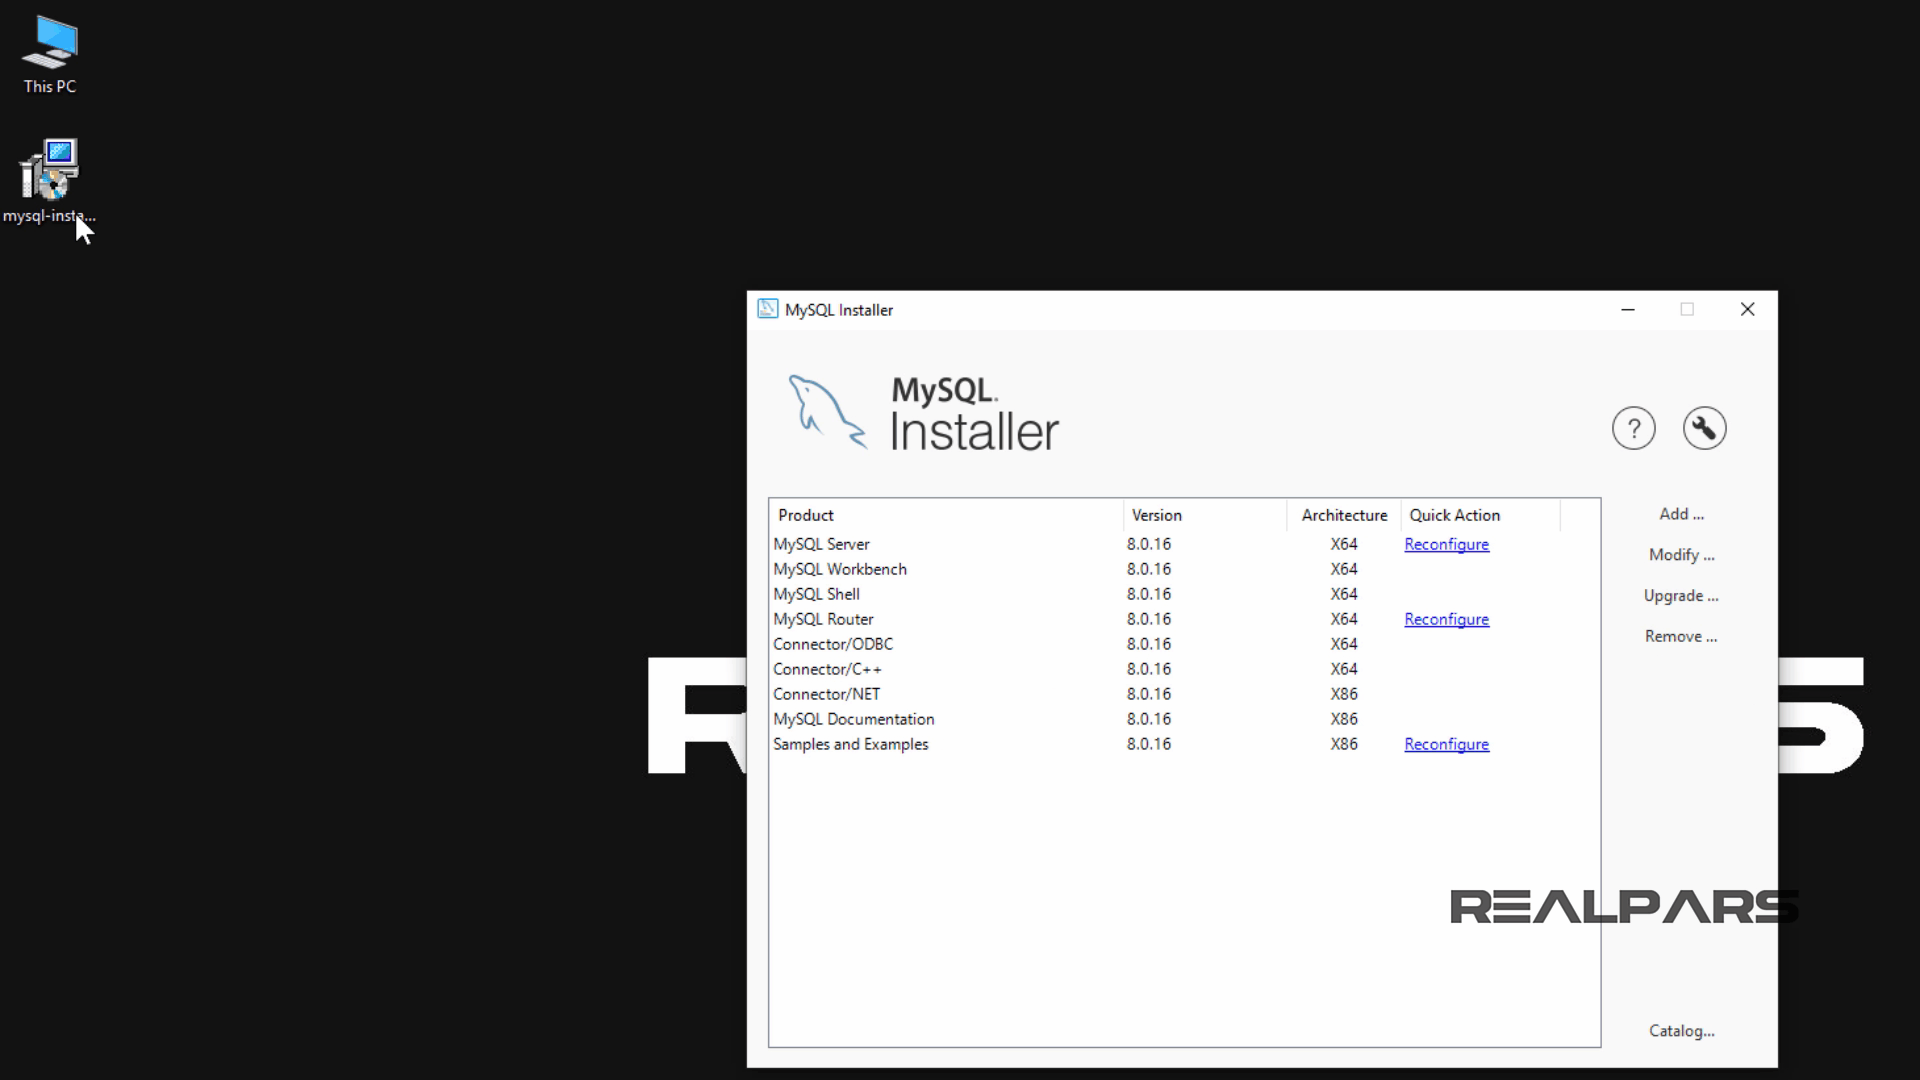
As you can see, we have already installed the options, listed in this window.
By installing one product, we will show you how to install the required options you may need for your project.

A new user will left mouse click and select the Add button to install the same options.
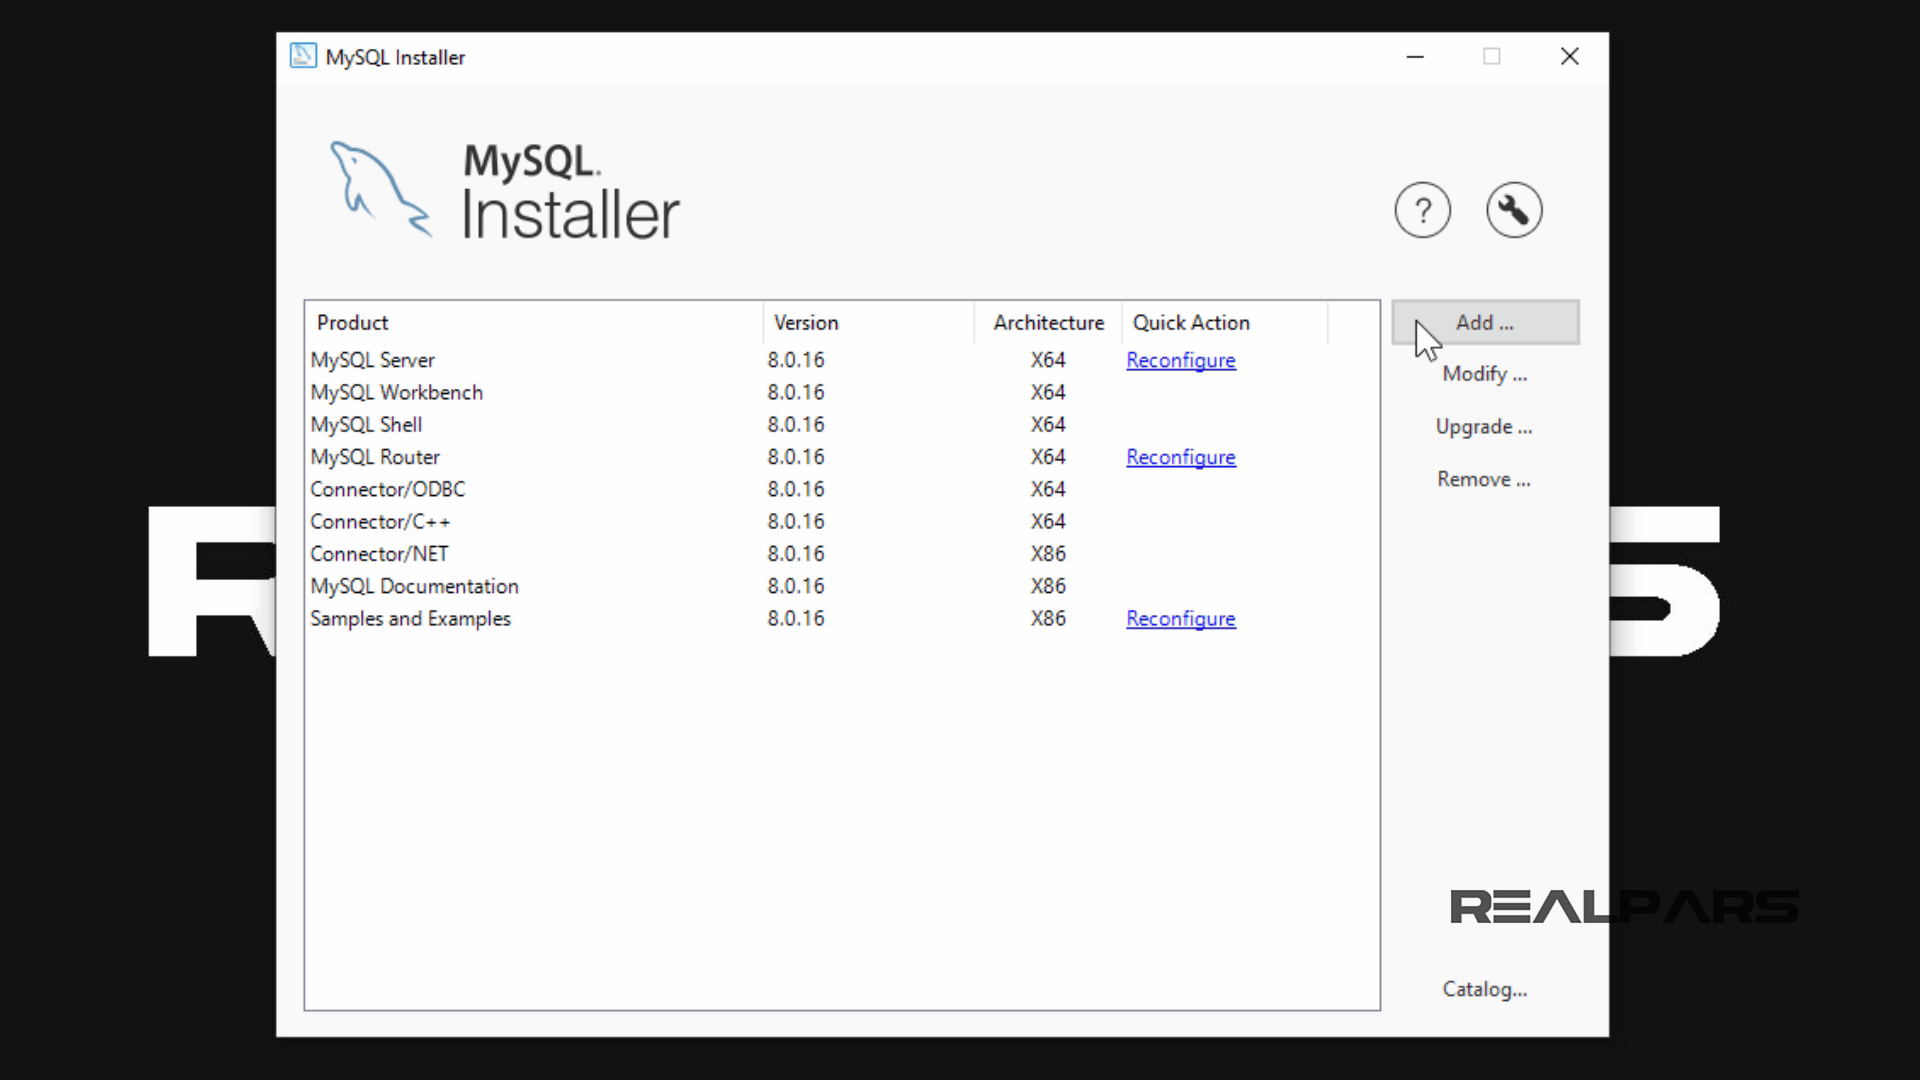
This window will display all of the uninstalled products.
We are going to select the product which we want to install, in the Available Products pane.
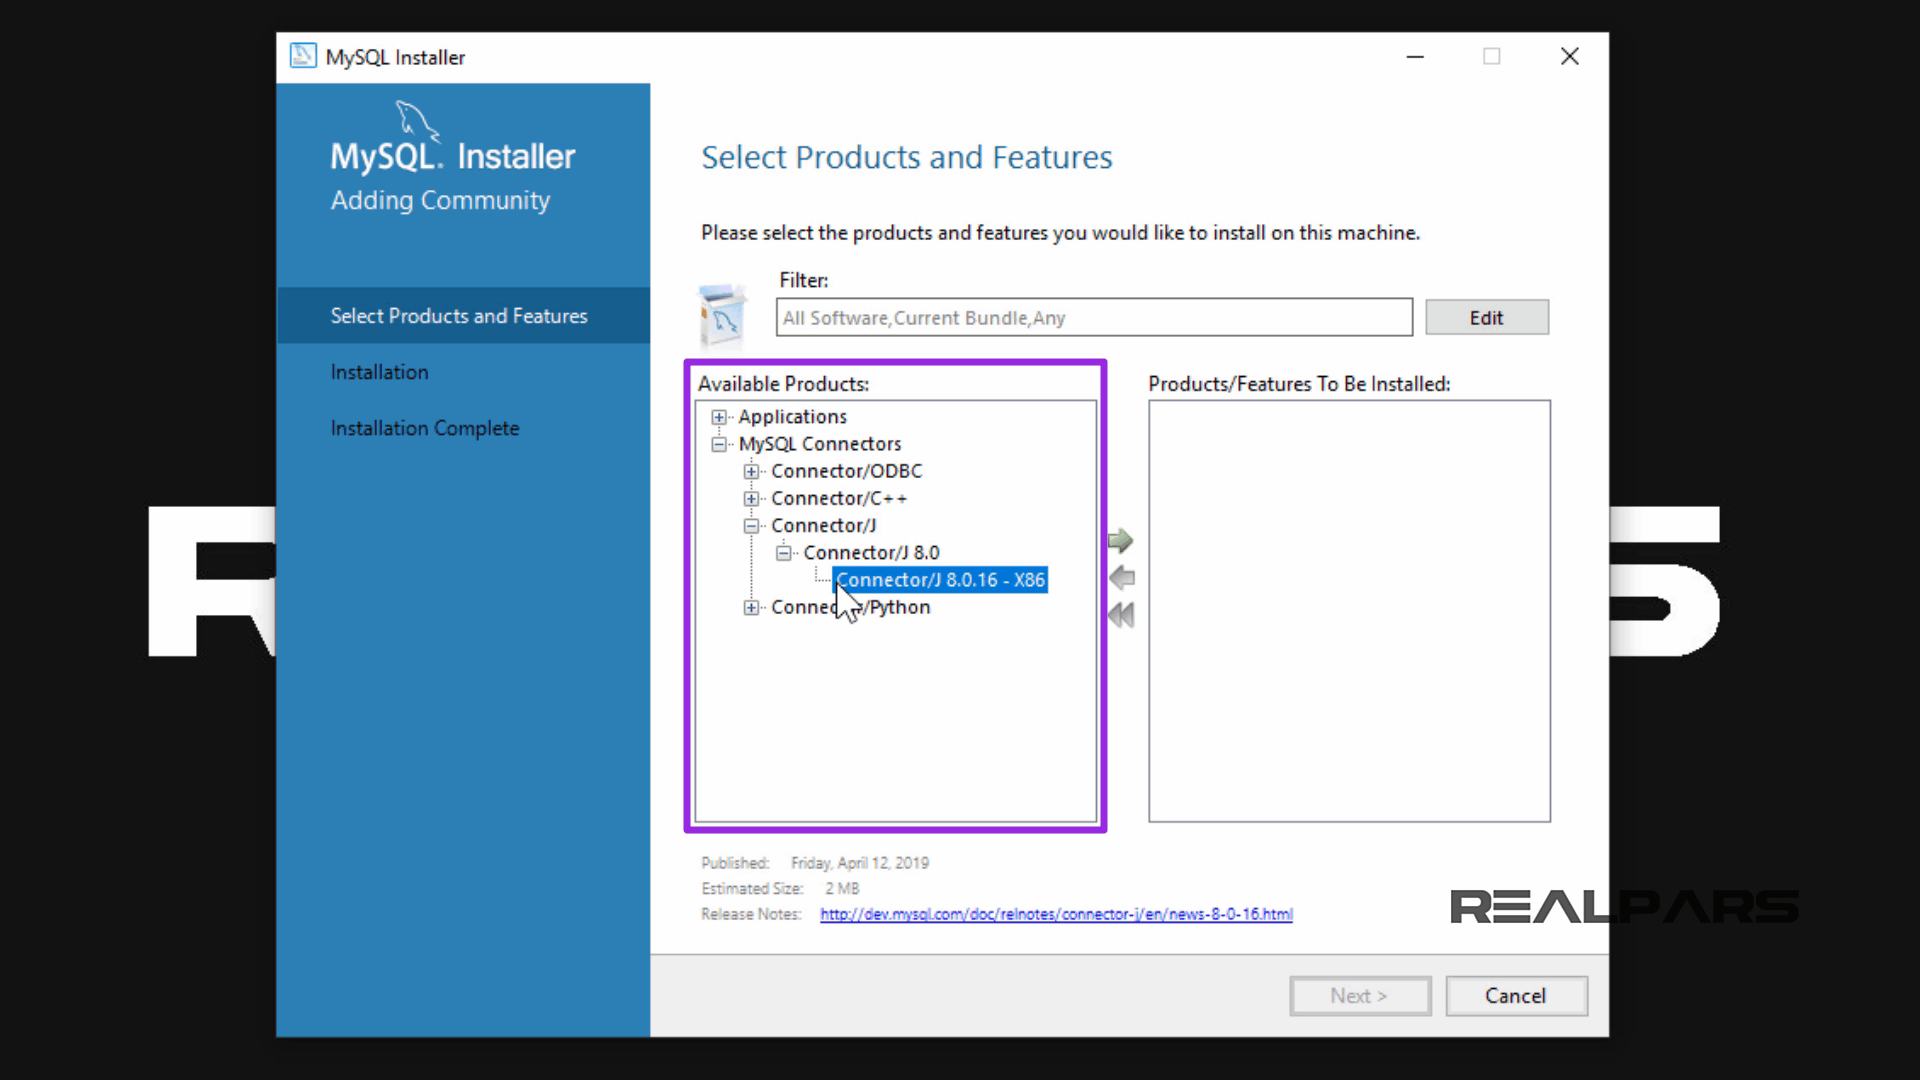
I use the arrow button to move the product to the Products and Features to be installed pane.
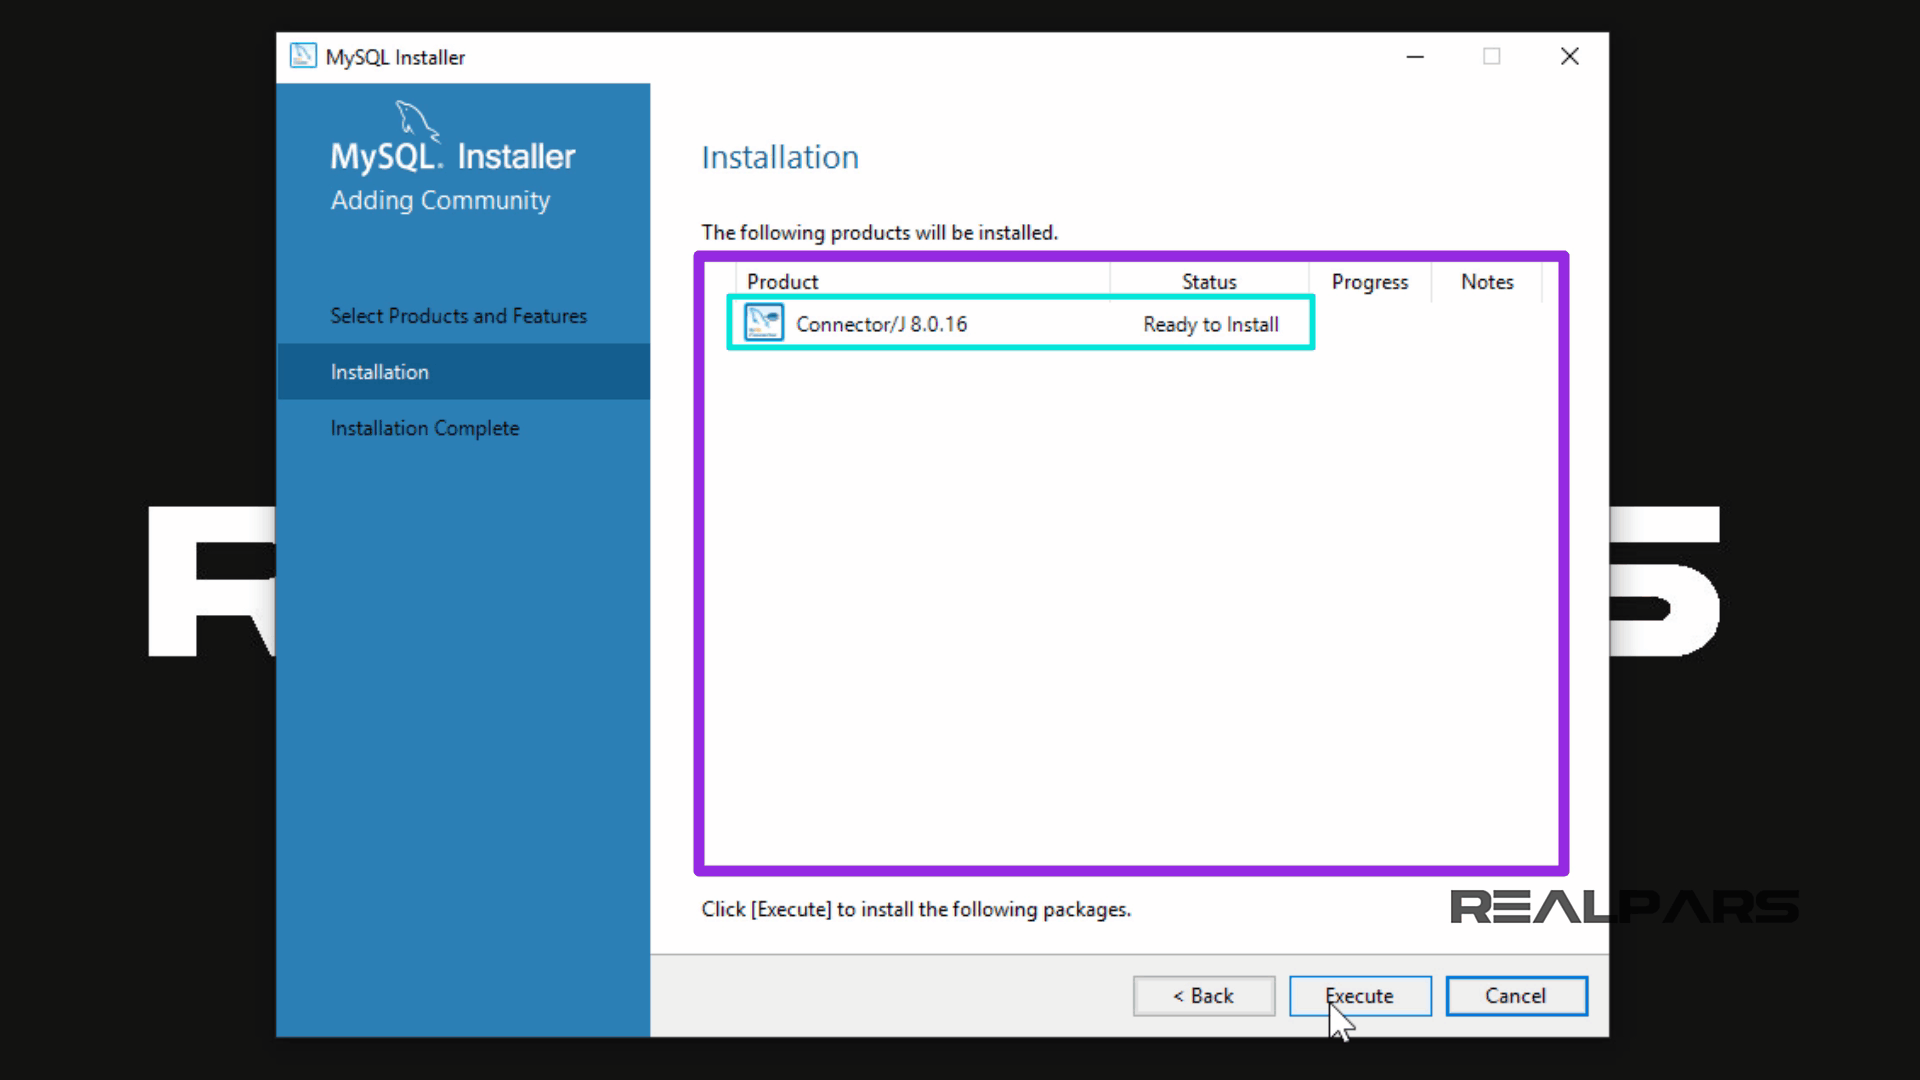
I left mouse click and select the Next button to start the install process.

After selecting the required product and left mouse clicking the Next button, the following window will appear, displaying the option which is ready to install.
I left mouse click and select the Execute button.
This will begin the install process.
If you have any questions, the MySQL installation documentation will help.
After a successful install, left-click the Windows button.
I then explore through the programs to find the MySQL folder.
Now let’s startup, MySQL Workbench 8.0 CE.

MySQL Workbench
MySQL Workbench is a graphical tool for working with MySQL servers and databases.
When the Workbench opens, the following user interface will display.
I Left-click and select the MySQL Connections, Local instance MySQL80 button.
You may need to log in using the password created during the install process.

MySQL will now display the user interface environment.

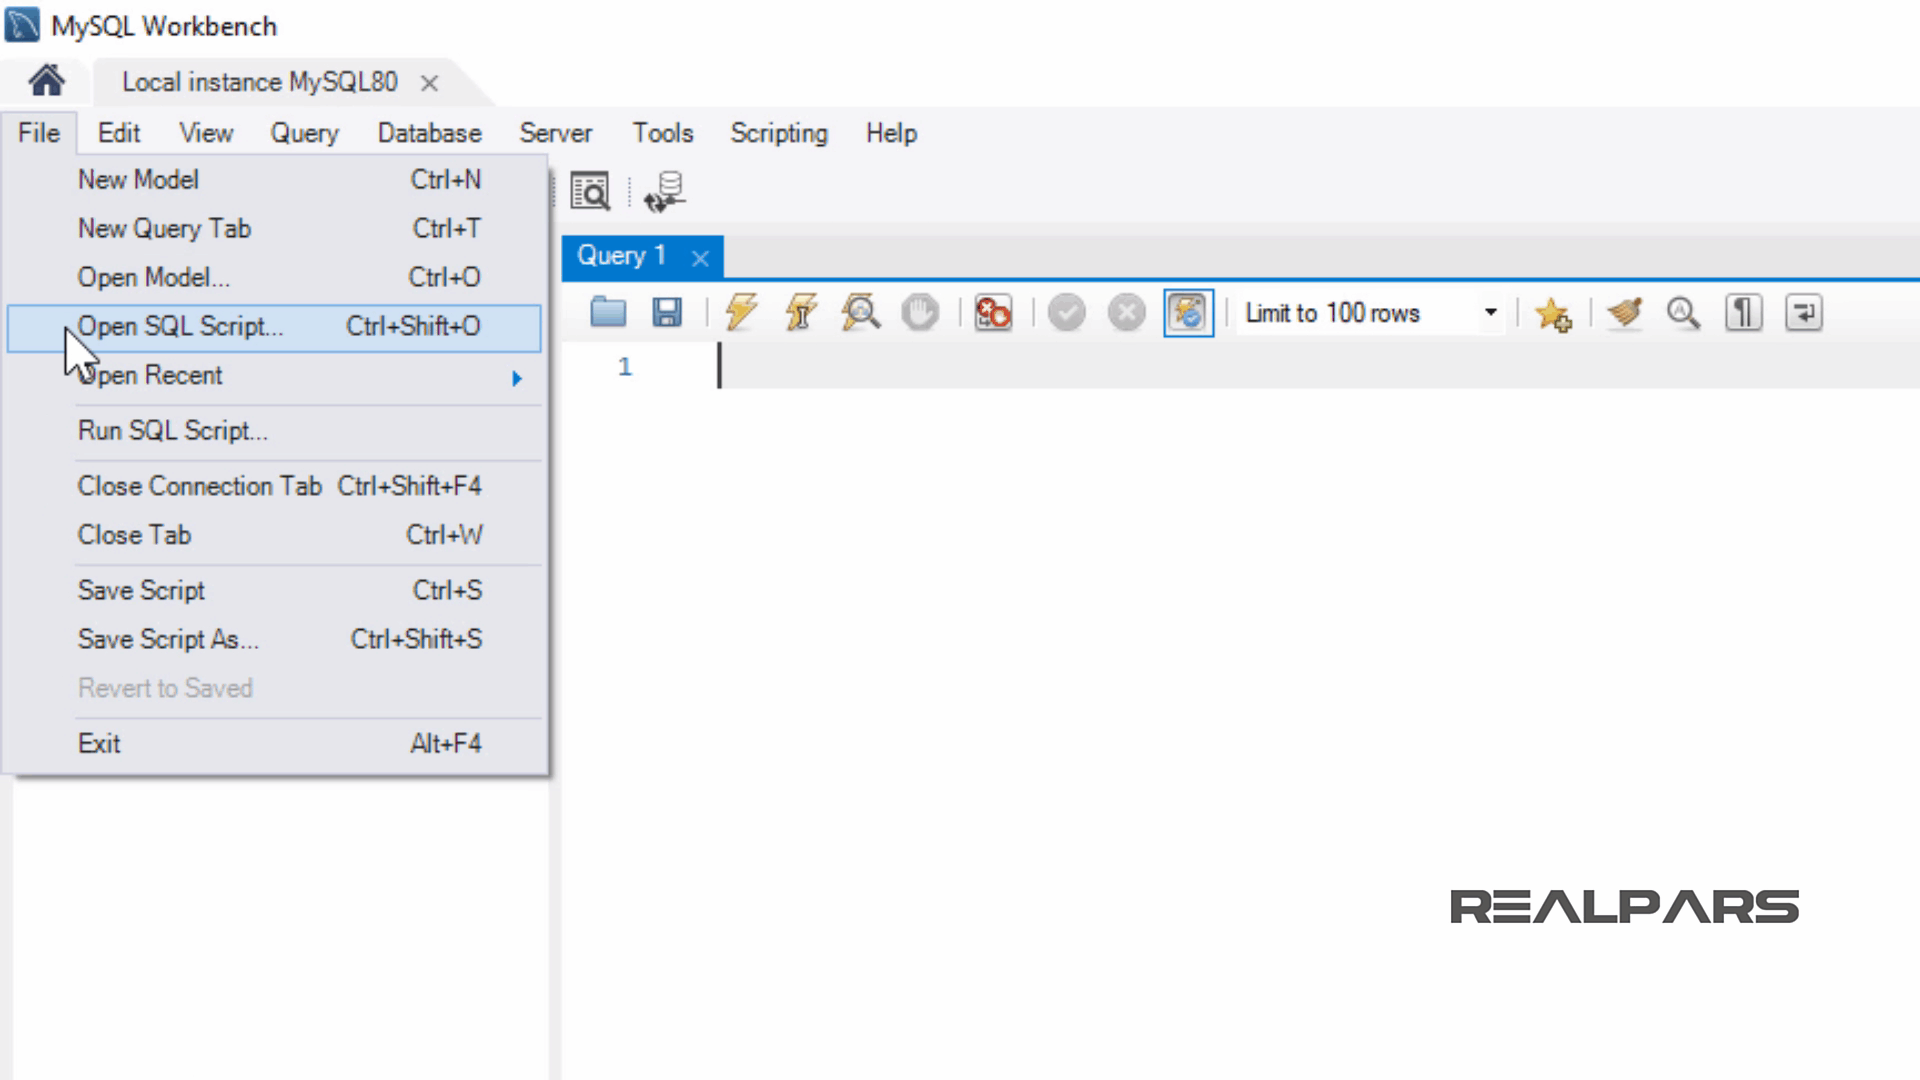
We are now going to open and run a script that has predefined our database.
Importing a sample database
Start by selecting the File menu button and scroll down to Open SQL Script.
I will open the script called realparssampledatabasev2.sql.
You can download this sample database file here.

After downloading, unzip the file and extract the realparssampledatabasev2.sql file.
This is a preview of the .sql file.
This is advanced scripting, but don’t worry, the next few steps are easy to follow. Much of the scripting in this schema will be explained in additional lessons.
The script is loaded into the new schemas window.
Now let’s run the script to create the RealPars database.
Select and left mouse click the lightning button.

After selecting and running the script, the tables and relationships are created.
Then data records will be added for us to sample using a few queries and available to follow along with the lessons available.
The following window is located at the bottom of the screen and informs us of success and failures while running the script. Green checks are good, Red X’s are not good.

I refresh the Navigator pane by clicking on the Swirling Arrows button to display the newly created realpars model database.
After the refresh, the database will appear.

Let’s run a quick query. Left-click the Tables triangle.
This will expand the Tables folder.

Now Right-click over the students table.
Left-click the Select Rows, Limit 100.

Doing this will create a new query to select the top 100 rows in the database.
The new query is created and runs automatically.
The query lists all of the top 100 records.

Exporting the recordset
This data can now be exported to Microsoft Excel by left-clicking and selecting the Export recordset to an external file button.

Select the file format you prefer. For Microsoft Excel, choose Excel Spreadsheet file type. We name this file Students_top100.
Then press the Save button.

Browse to the folder where you exported the data record.
Then open the Excel Spreadsheet file by double-clicking on it.

This concludes the article, How to install MySQL and import a sample database.
Please stay tuned for future SQL lessons, soon to be released.
These lessons will provide basic and in-depth use of the SQL commands using MySQL and additional lessons on how to use this language in automation for analytical reporting, troubleshooting, and process development.
If you would like to get additional training on a similar subject please let us know in the comment section.
Check back with us soon for more automation control topics.
Got a friend, client, or colleague who could use some of this information? Please share this article.
The RealPars Team
▶ How to Install MySQL and Import a Sample Database (Part 1 of 8)
What are SQL Programming Basics? (Part 2 of 8)
What are SQL Where and Like Statements Basics? (Part 3 of 8)
What are the SQL Order by Clause and Expression Statement Language Elements? (Part 4 of 8)
What are the SQL Subquery and Exists Clause statement language elements? (Part 6 of 8)
What is the SQL Create Table Clause Statement Language Element? (Part 7 of 8)
What are the SQL Cross Join, Inner Join, and Union Clause statement language elements? (Part 8 of 8)

Learn from
industry experts
with a free 7-day trial, then $25/month