

This is the second of a series of articles about the Phoenix Contact PLCnext Starterkit, and we’re going to take you through the steps of creating a New PLCnext Engineer Project. If you are interested in a powerful but inexpensive PLC, you might want to consider the PLCnext Starterkit.
In this article, we’re going to take you through the steps of creating a New Project and configuring the laptop Ethernet Port to a fixed IP address to start establishing Ethernet communication between the PLCnext Starterkit and a laptop or personal computer.
Start PLCnext Engineer
Alright… let’s get started. The first thing to do is start PLCnext Engineer.
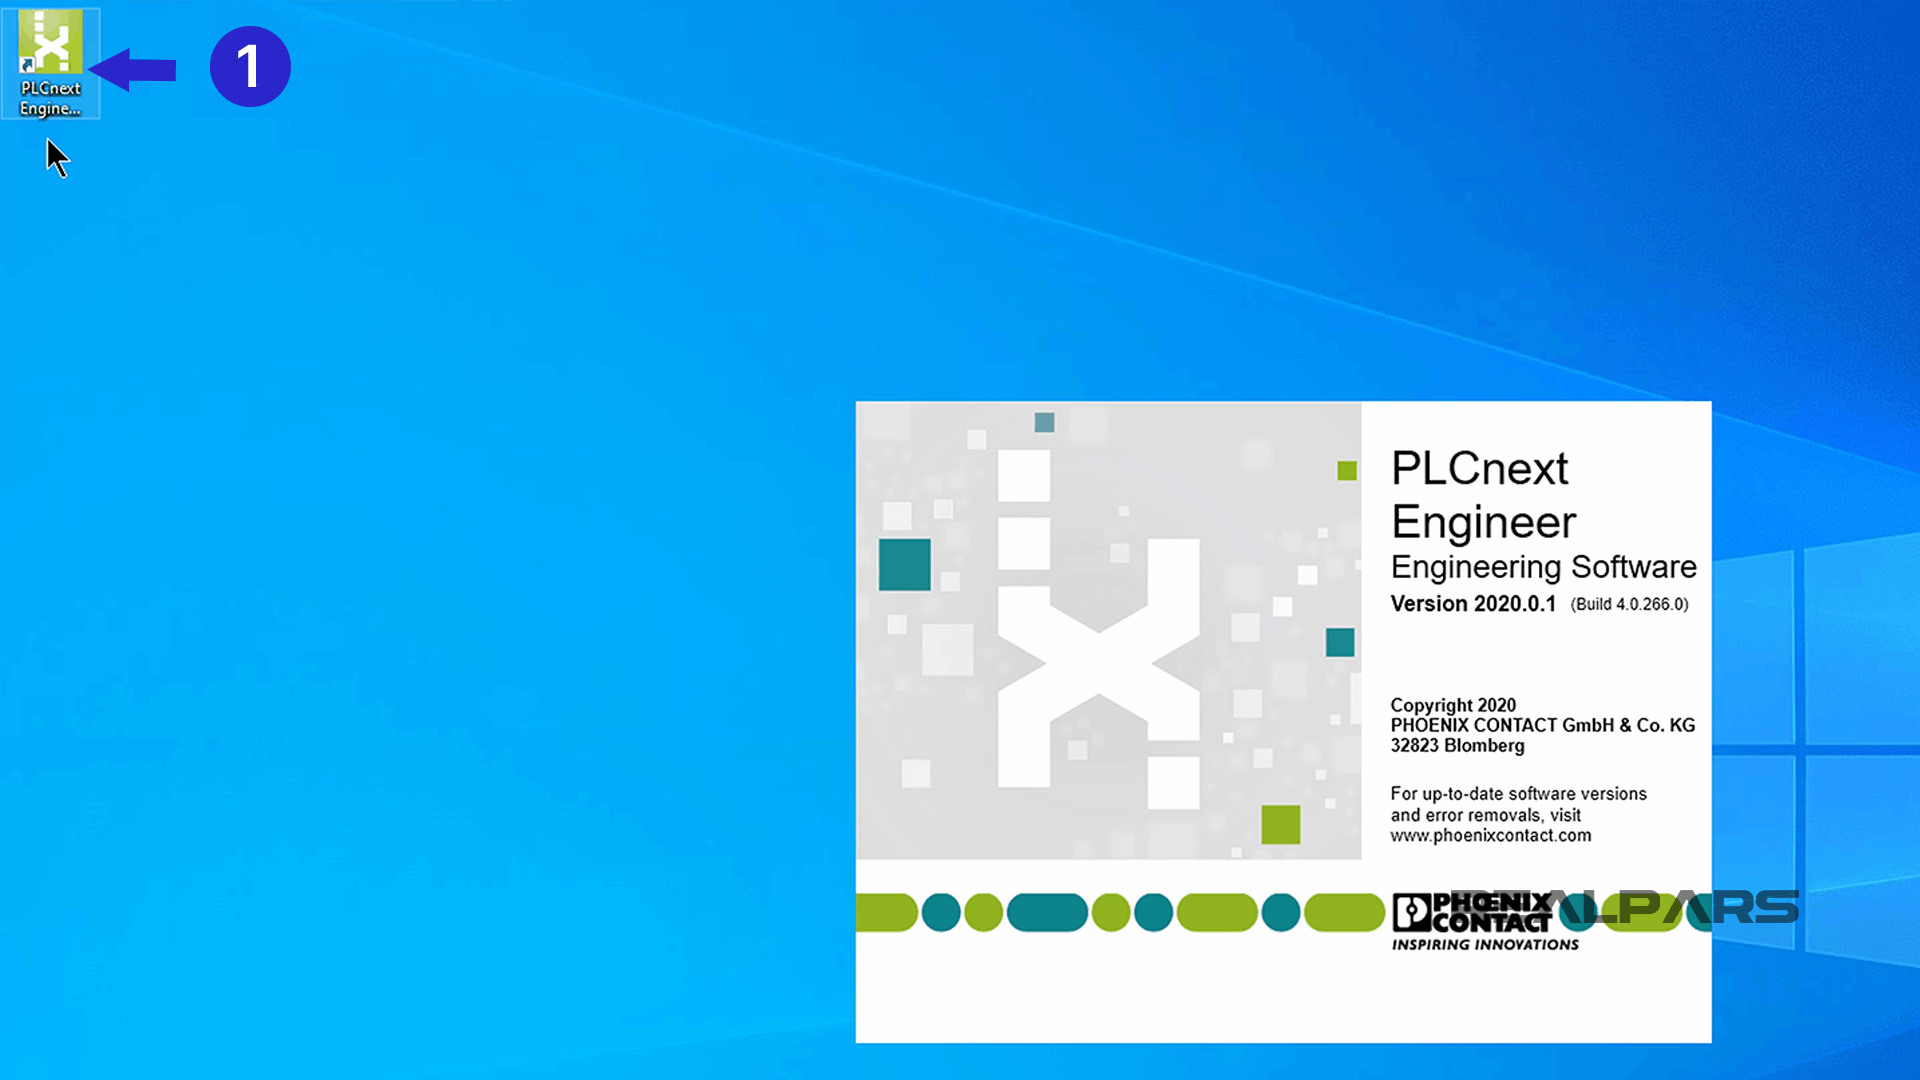
The Initial sign-on screen looks like this.
We’re going to click on Help and then About as we need to collect some information about the PLCnext software.
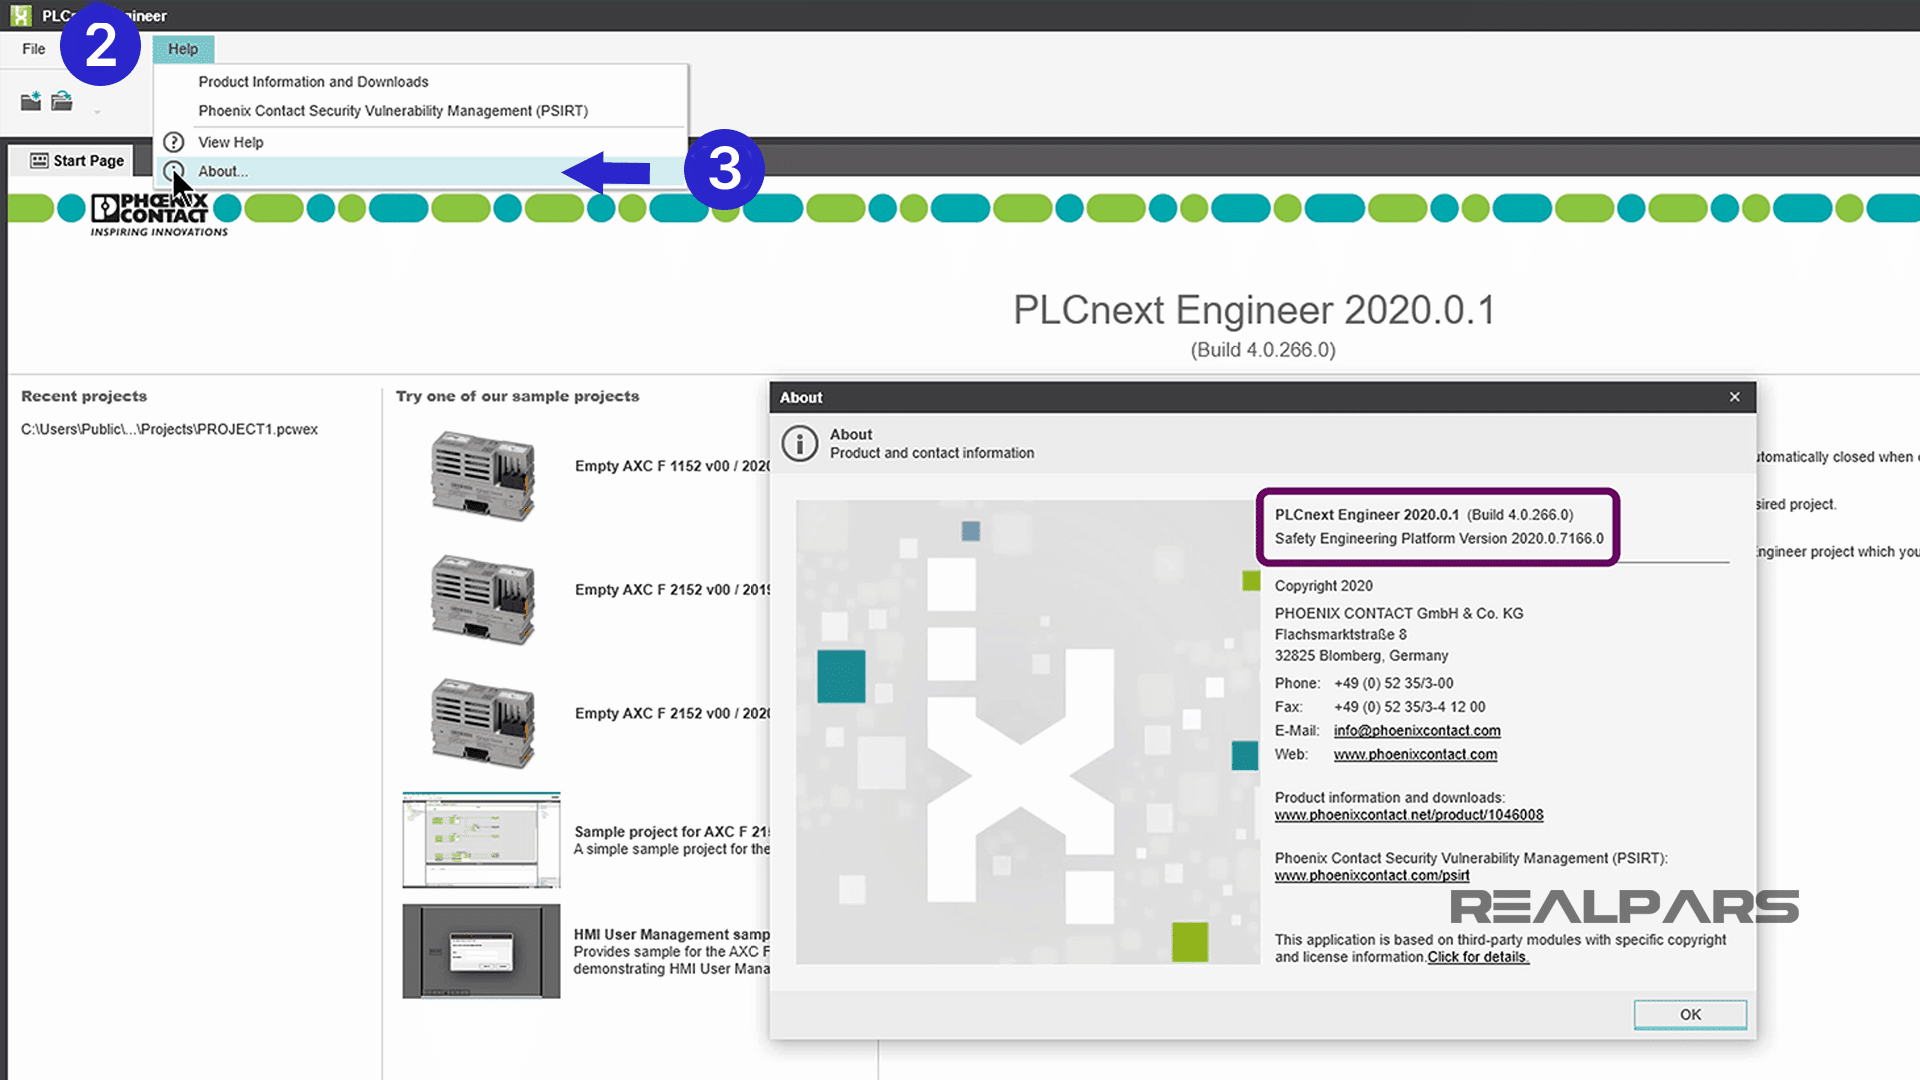
It’s a good idea to make note of the software version. That way you can ensure that your programming software is always up to date.
Alright… as we said earlier, we’re going to accomplish two things in this article.
1) First, we’ll create a New Project.
2) Second, we will start establishing Ethernet communication between the PLCnext Starterkit and a laptop or personal computer by configuring the laptop Ethernet port and setting it to a fixed IP address.
Setting a fixed IP address will assist you later when we take you through the steps to establishing communication between your laptop or personal computer.
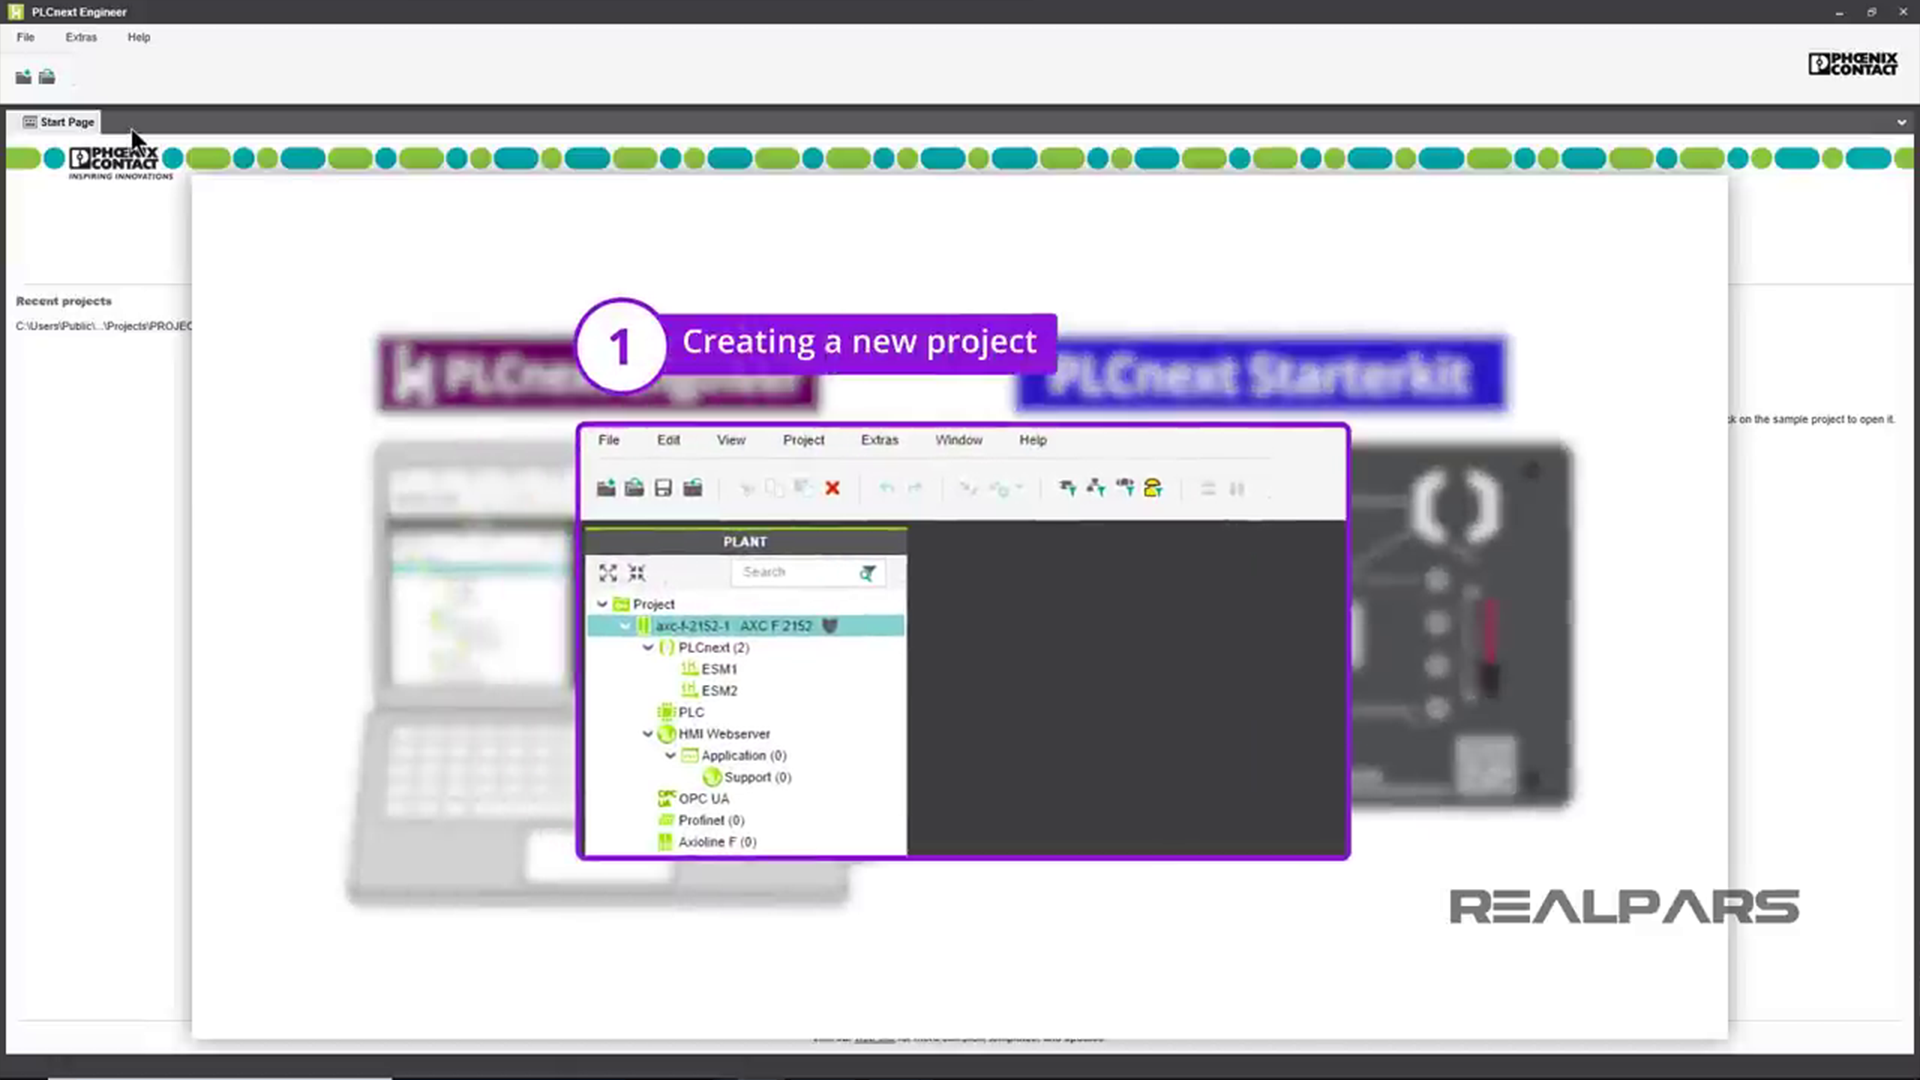
1) Create a new project
Let’s start a New Project. If you’ve worked on any Microsoft Office products like Word or Excel you’ll notice the PLCnext Engineer Folder and File layout is very similar.
Starting a new project is just like opening a new document in Word. So, to start a new project, click File, and then click on New Project from the drop-down menu.

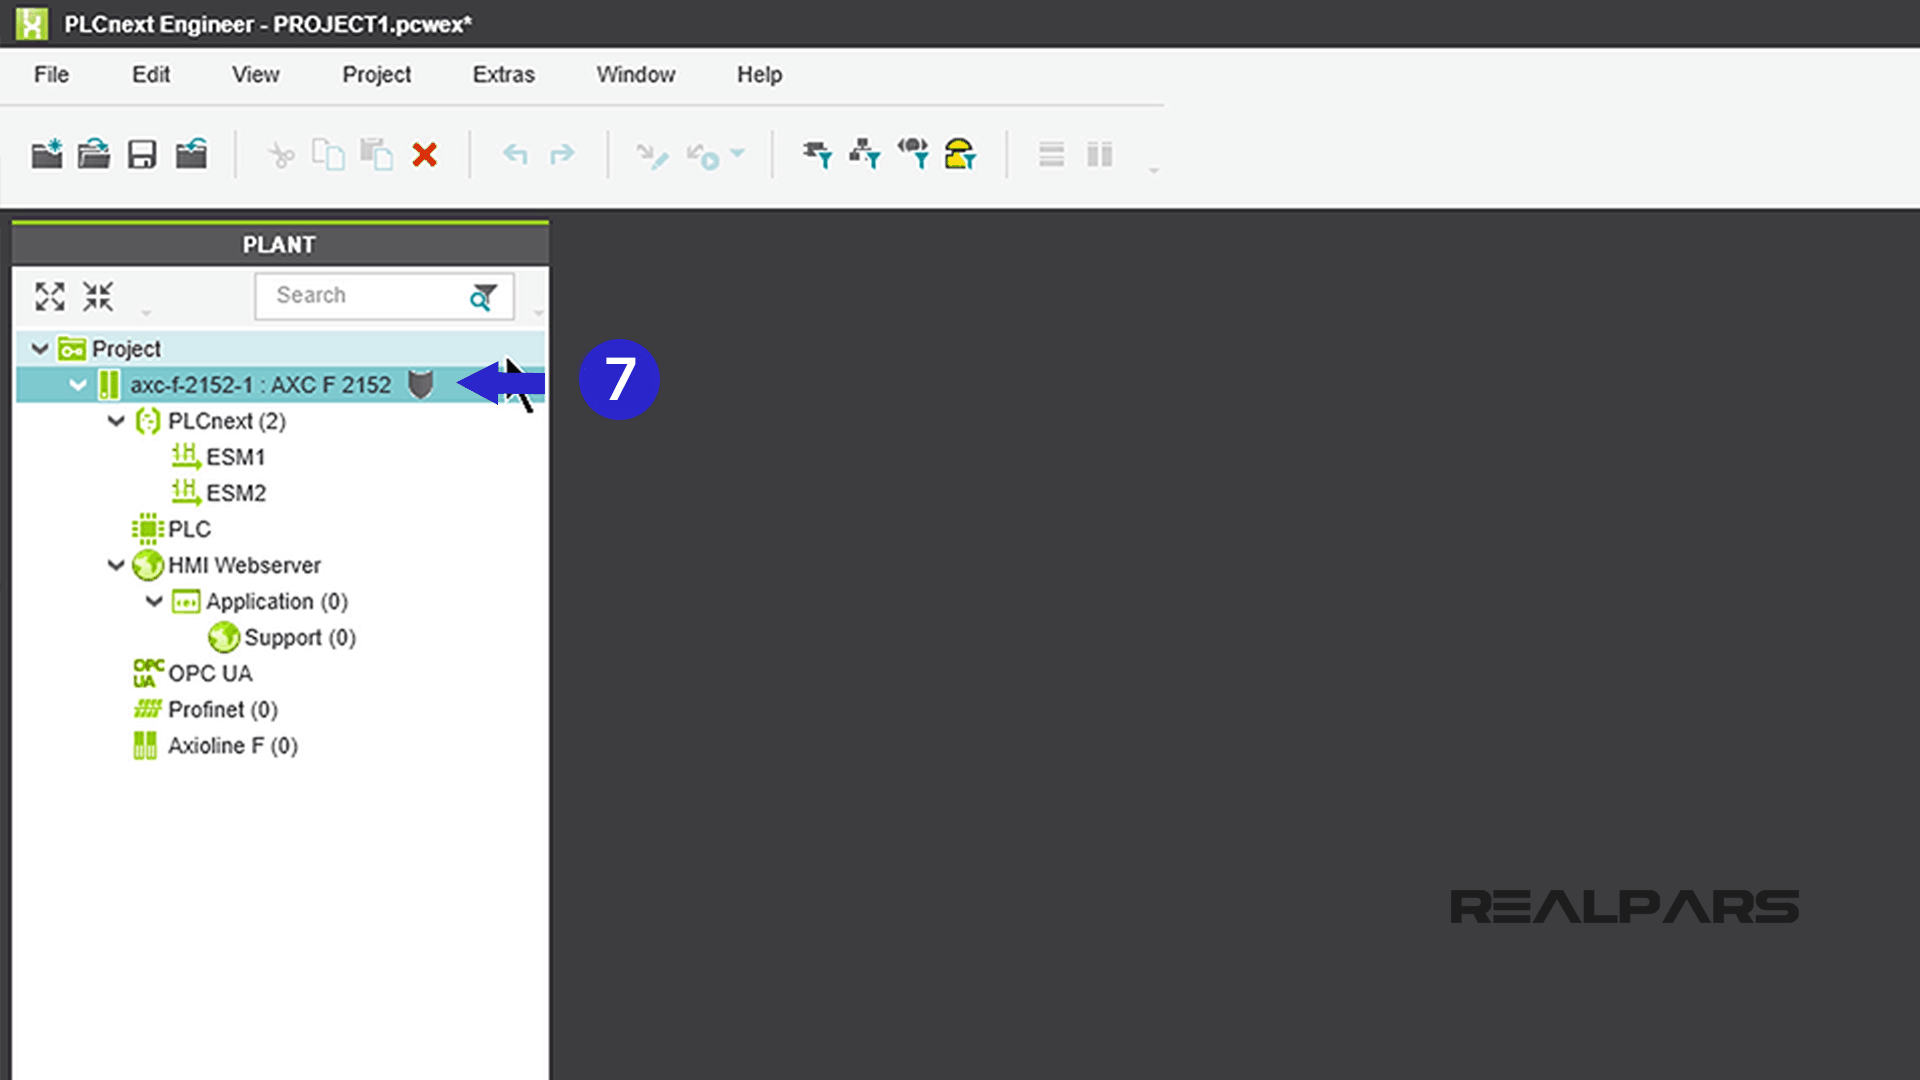
A Folder called Project will appear under a window called PLANT.
By default, when a NEW project is opened, PLCnext Engineer automatically assigns the name PROJECT1.pcwex. That name can be changed at any time.
This is a good time to talk briefly about what needs to be put into the Project folder.
1) First of all, we need to include details about the PLCnext Starterkit Controller.
2) Secondly, we need to ensure that Ethernet communication is properly established between the PLC and the laptop.
3) Thirdly, we will include information about the I/O modules currently mounted on the Starterkit. This third step is referred to as Configuring the I/O and will be explained in the next article of this series, How to Configure the PLCnext Starterkit I/O Modules and Establish Ethernet Communication.
Select your controller
Ok, let’s add your controller to the Project. You will be able to select your controller from a drop-down menu.
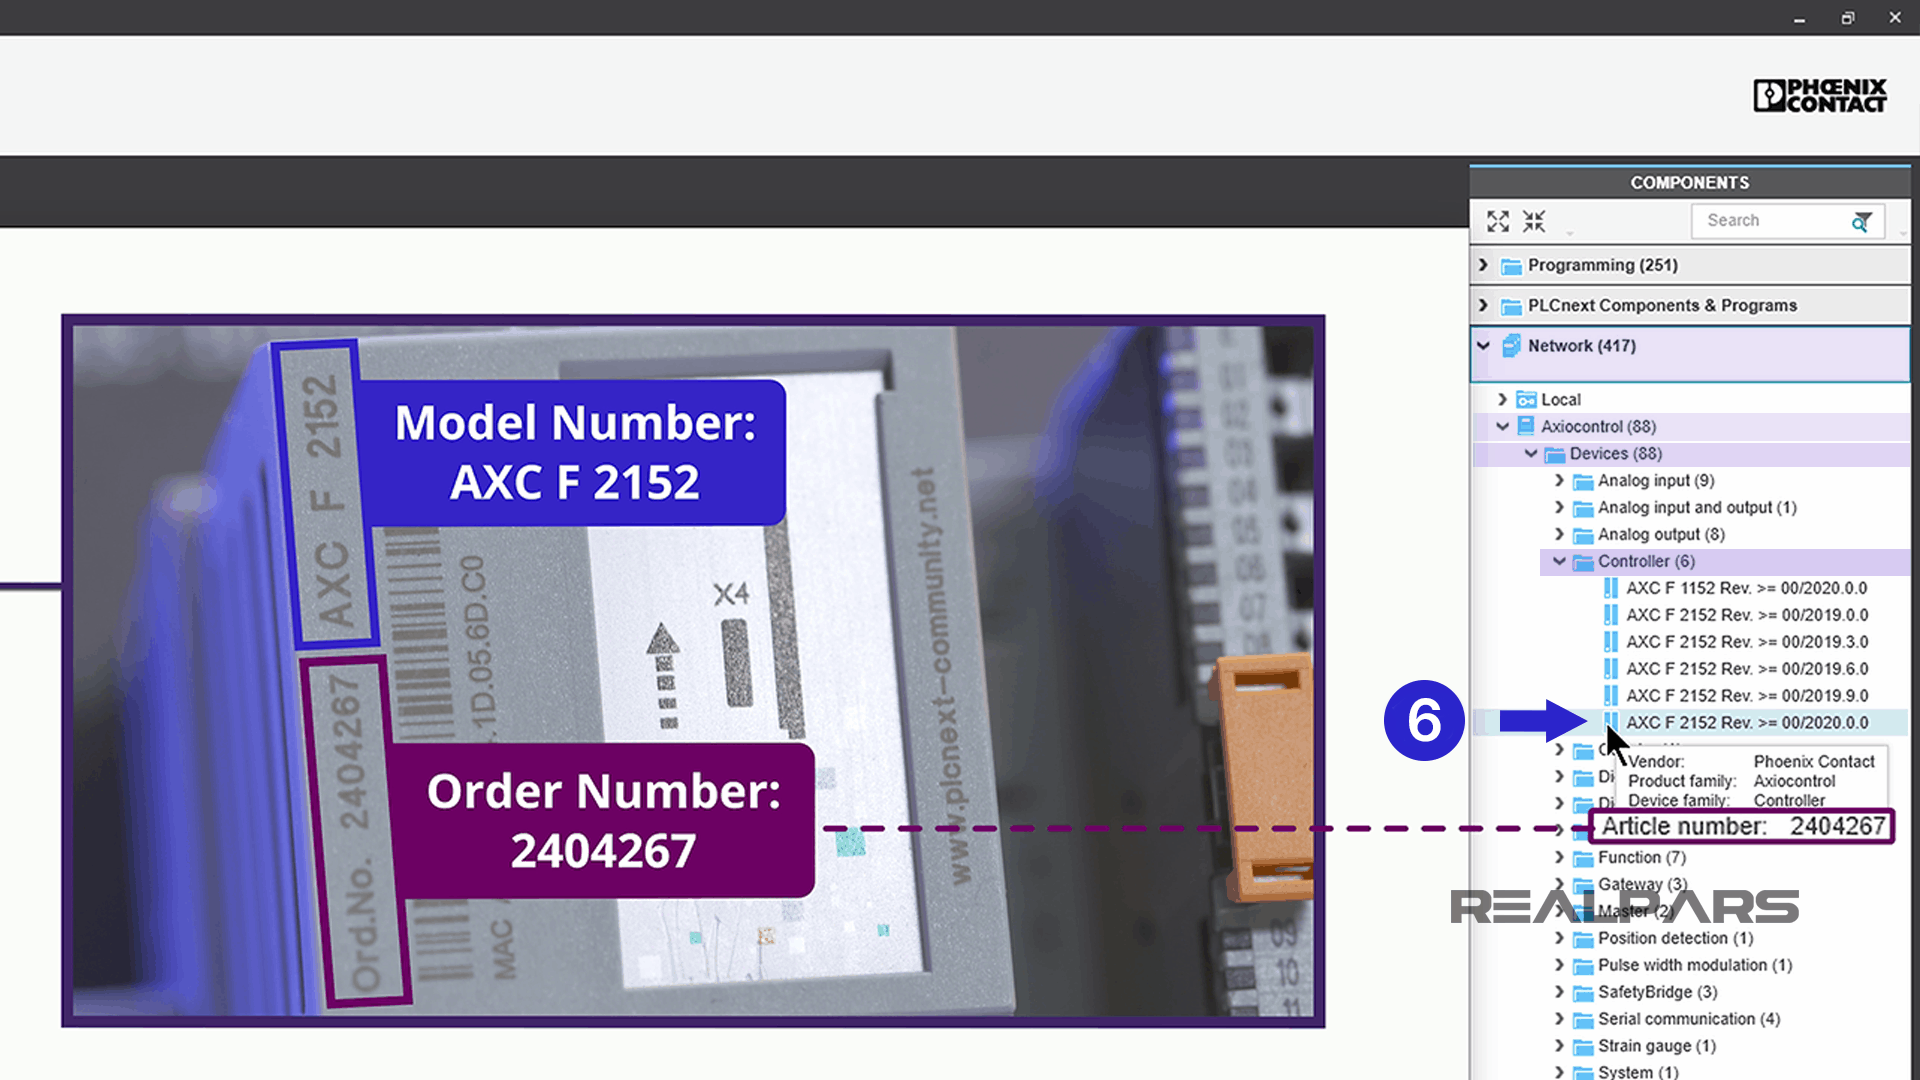
If you can’t recall your controller details from the first article, PLCnext Starterkit | What’s in the Box?, it’s easy to find. You will see the Model Number and the Order Number stamped on the front of your controller.
Under Components on the right side of your screen, drill down through the Network folder to the Controller folder.
As your mouse hovers over each Controller listed, more details about the controller will be shown. Be sure to select the controller that matches yours.
Note that Article Number and Order Number are the same things.
Once you select your controller, drag it over and drop it into the Project folder.
2) Establish Ethernet communication
Connect the Ethernet cable
Now that we’ve configured the Project to match the Controller, let’s move on to our second task and begin the process of establishing communication between the PLC and your laptop.
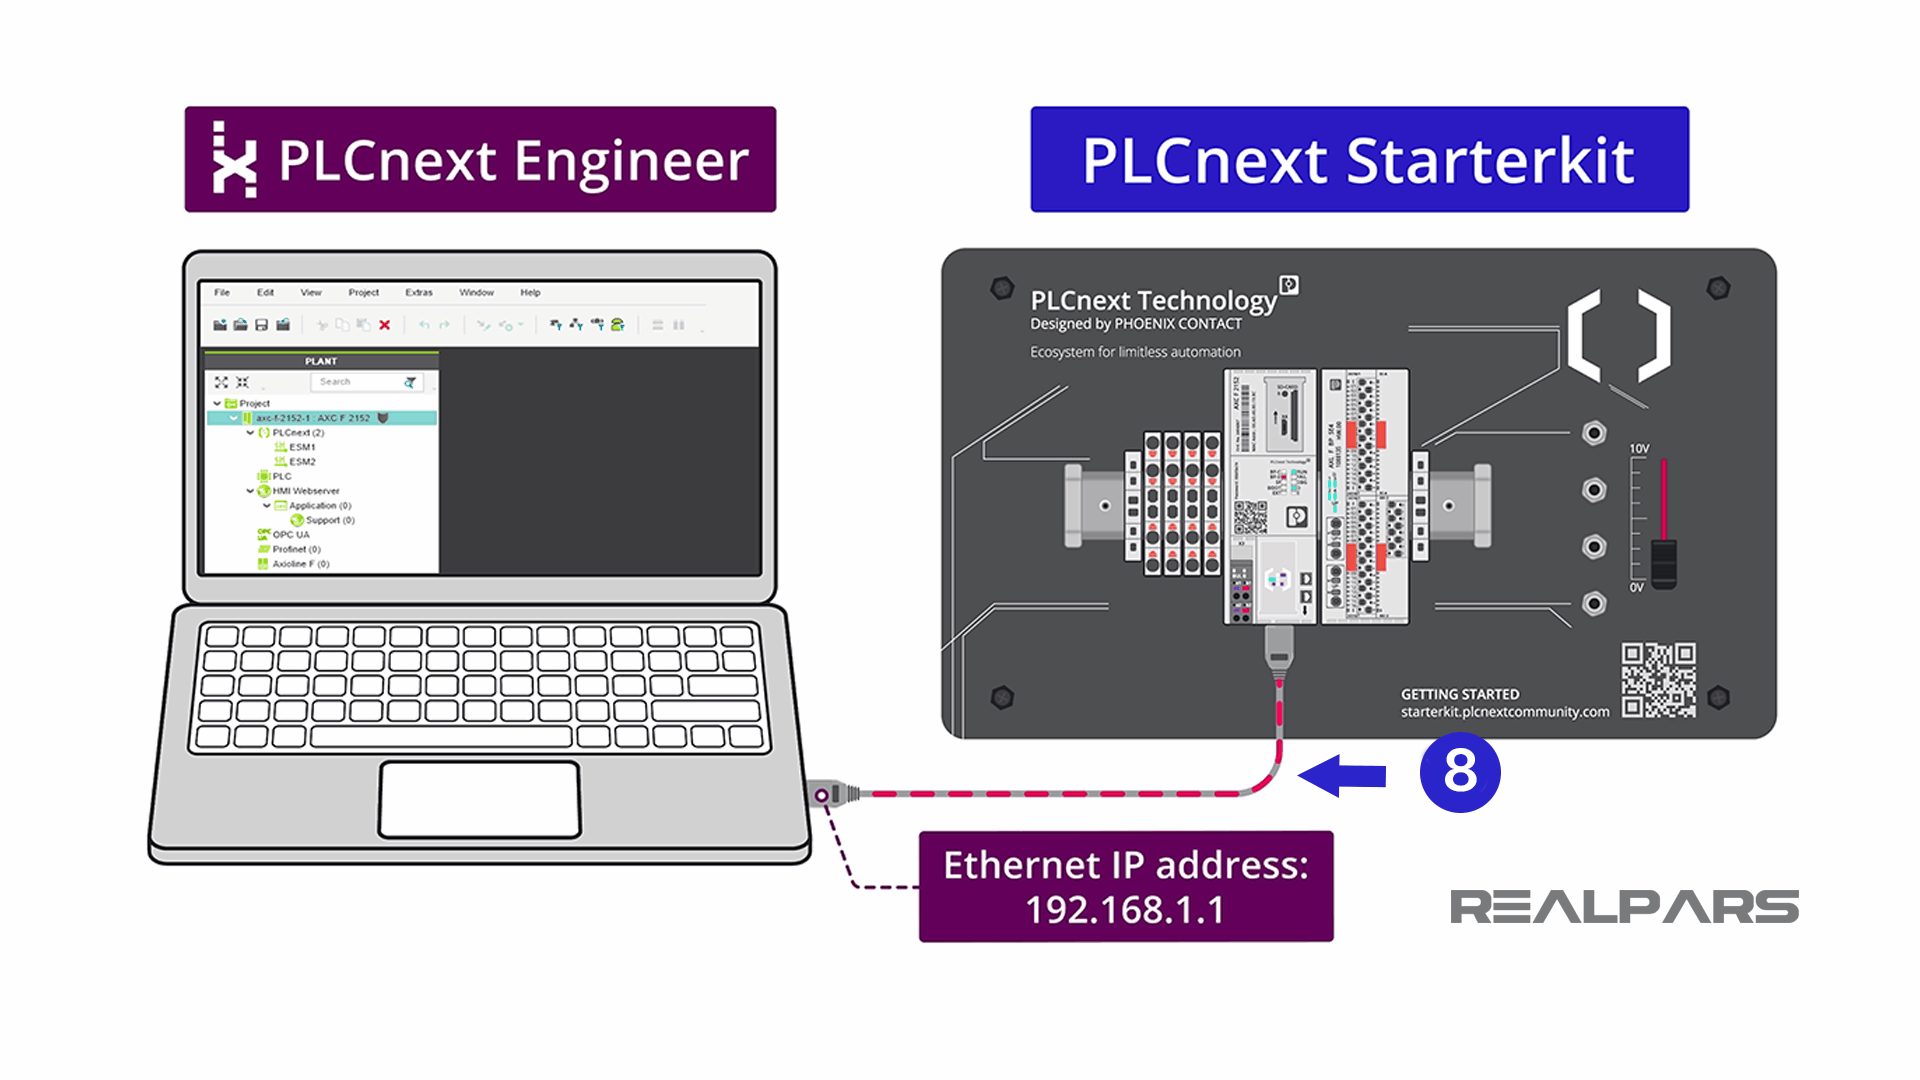
Connect the Ethernet Cable between the PLC and the laptop.
The PLC and the laptop communicate to each other via the Ethernet Cable if the respective IP addresses are set correctly. So, our first job is to set the IP addresses.
Set the IP addresses
Let’s start with the laptop. We’re going to go through the steps to set the laptop Ethernet Port IP address to 192.168.1.1.
We’re not going to go into a lot of detail about what and why we are making changes and establishing certain settings. Our goal is to get your laptop and the PLC communicating as soon as possible.
If you are interested in learning more about Ethernet and IP addresses, the internet is chock full of information.
We are operating in a Windows 10 environment. If you have something different, the following steps may differ somewhat.
Alright… off we go. Click on the Microsoft symbol at the bottom left of your screen. Move the mouse up and hover over the Settings symbol. Now click on Settings.

From this window, click on Network and Internet.
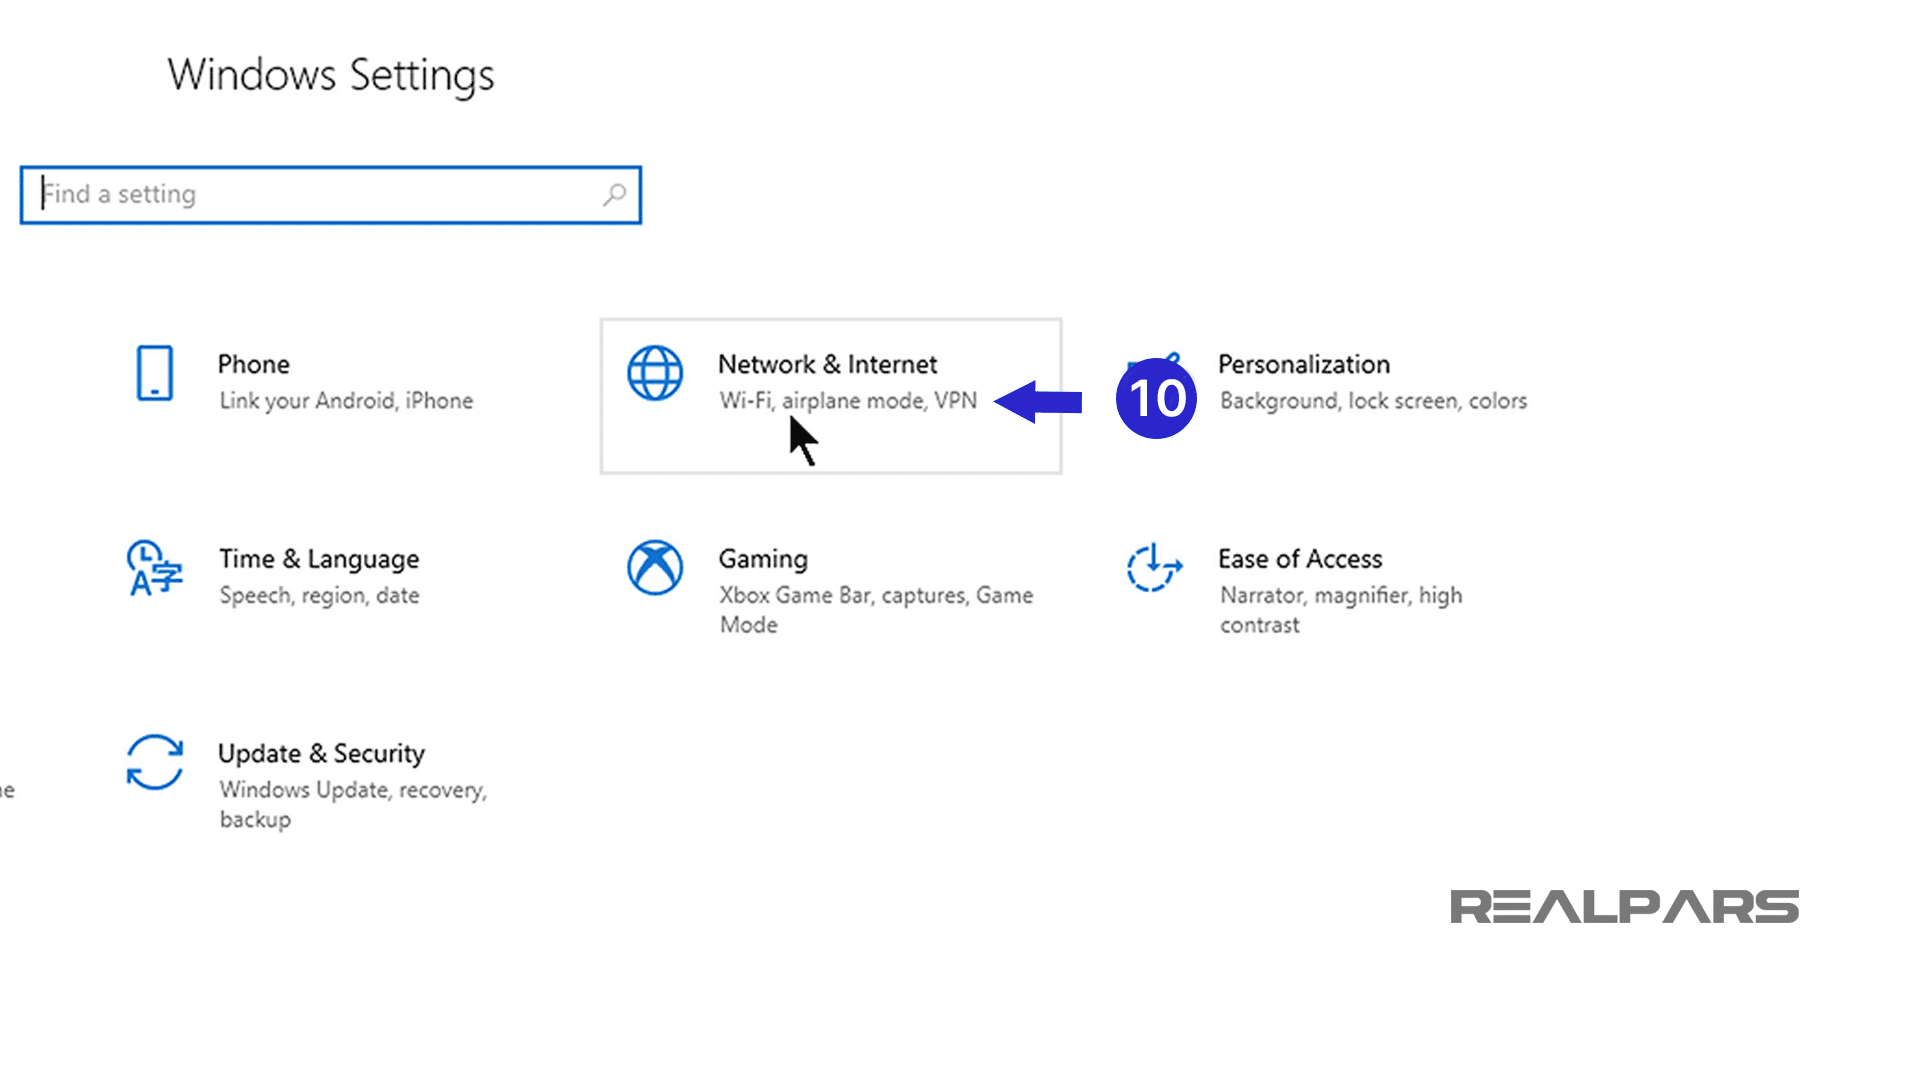
From this window, click on Network and Internet. Now, choose Ethernet from the choices listed. Over the right-hand side of the screen, choose Change adapter options.
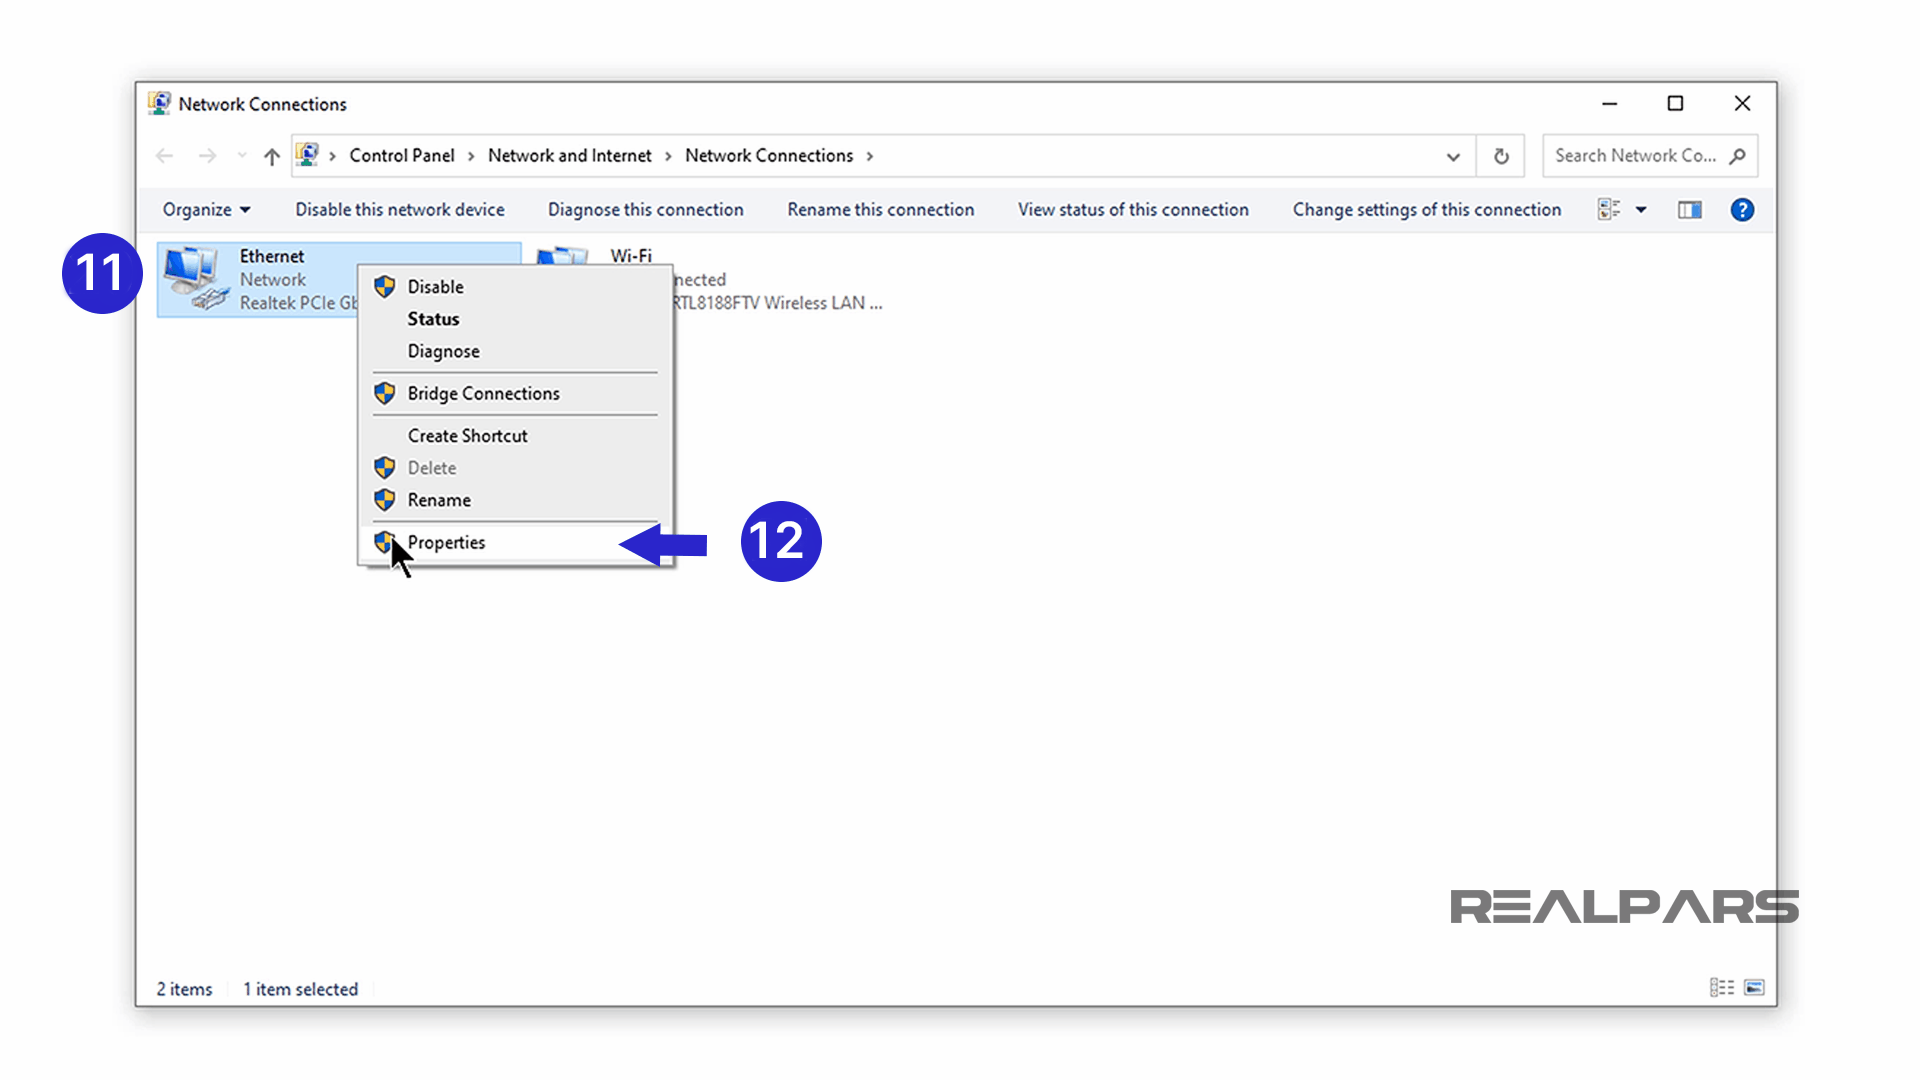
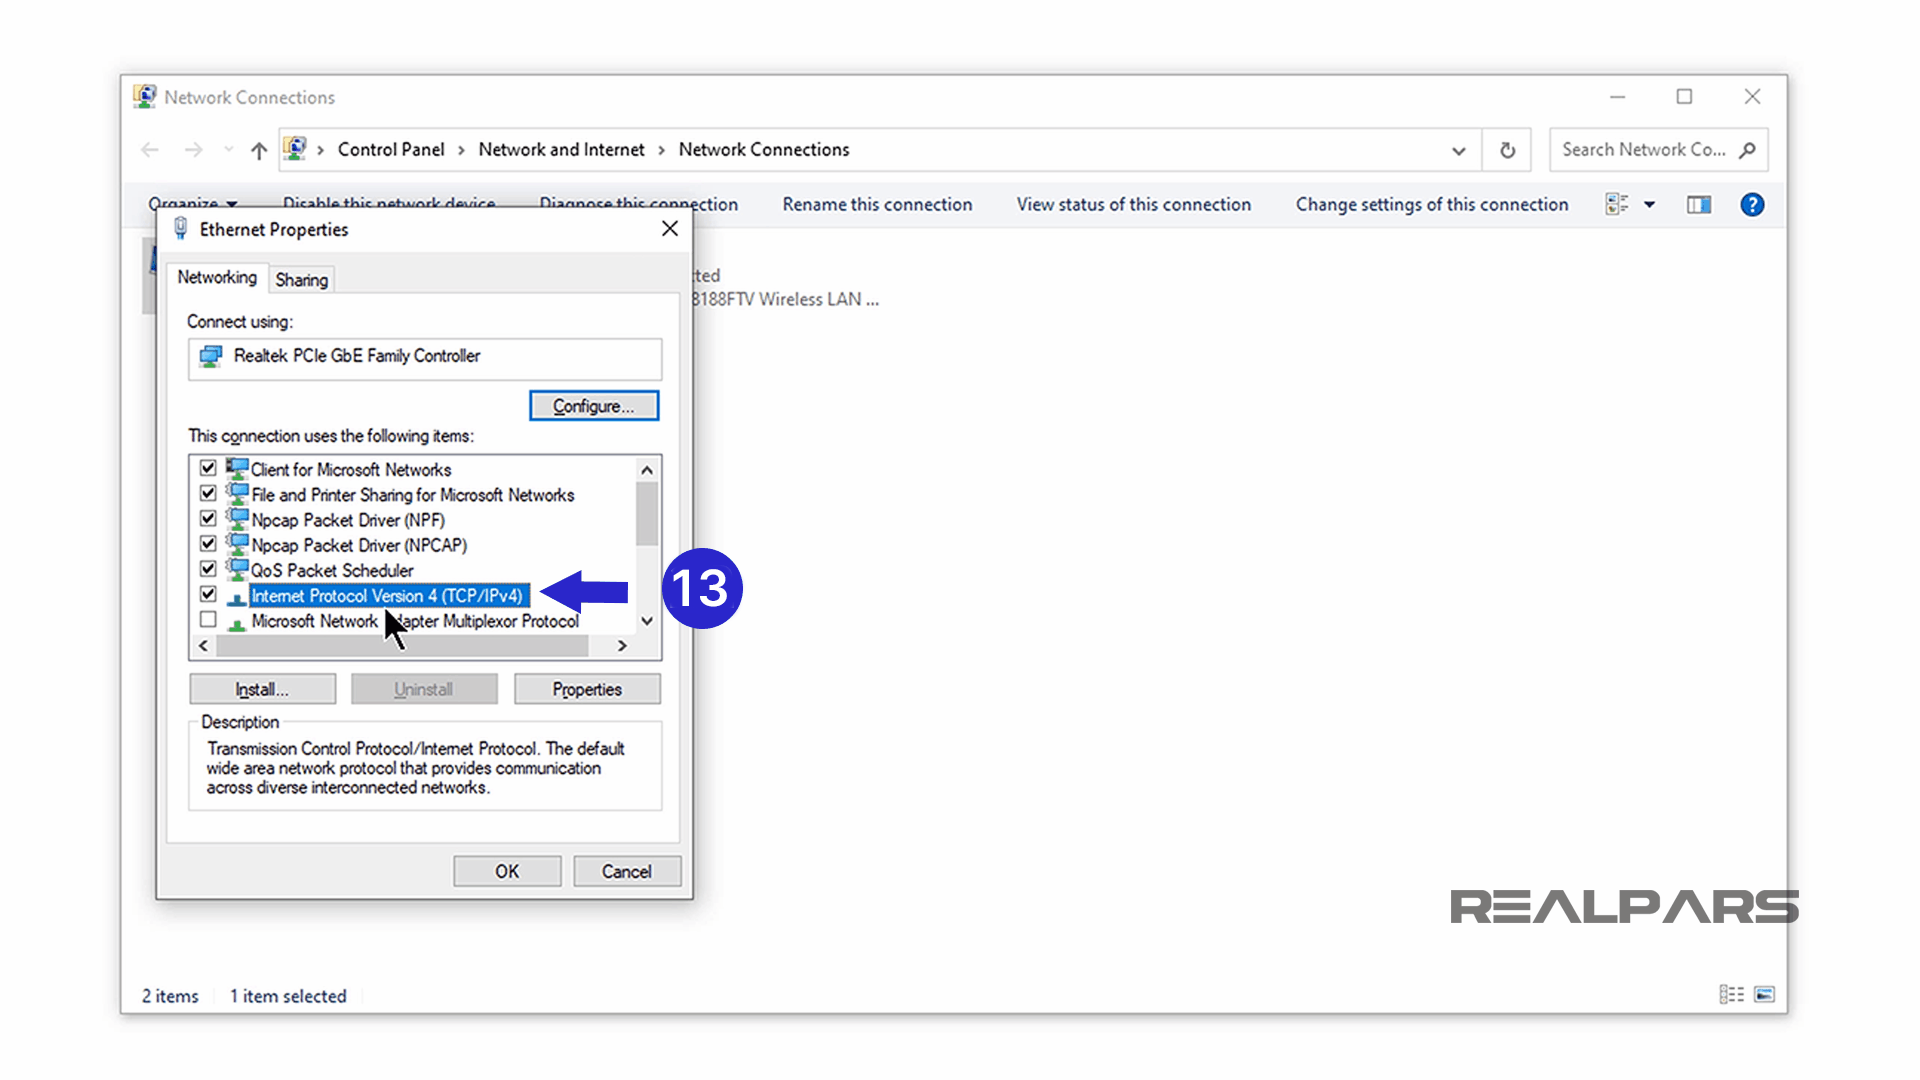
Right-Click on Ethernet. Click on Properties from this list. Double-click on Internet Protocol Version 4 (TCP/IPv4).
We’re getting close now! Make sure that Use the following IP address is selected. Enter 192.168.1.1 as the IP address Click OK. You can now leave Settings. That’s it!

You have now successfully set the IP address of your laptop Ethernet Port to 192.168.1.1. You might want to write that down somewhere.
That should do it for this article! You have created a New Project and configured the laptop Ethernet port, and set it to a fixed IP address.
In the next article, How to Configure the PLCnext Starterkit I/O Modules and Establish Ethernet Communication, we’re going to show you how to establish Ethernet communication between the PLCnext Starterkit and your computer. Also, you’re going to learn how to configure the PLCnext Starterkit I/O modules.
You deserve a break! Congratulate yourself and have a coffee.
PLCnext Starterkit | What’s in the Box? (Part 1 of 4)
▶ How to Create a New PLCnext Engineer Project and Configure Ethernet Port (Part 2 of 4)
How to Easily Create PLCnext Ladder Logic Programs (Part 4 of 4)
Got a friend, client, or colleague who could use some of this information? Please share this article.